
Have old cushion covers but intimidated? Here’s a DIY Cushion Recover Tutorial. Works for me…it’s quick, it’s easy and looks great.
The Before and the After.
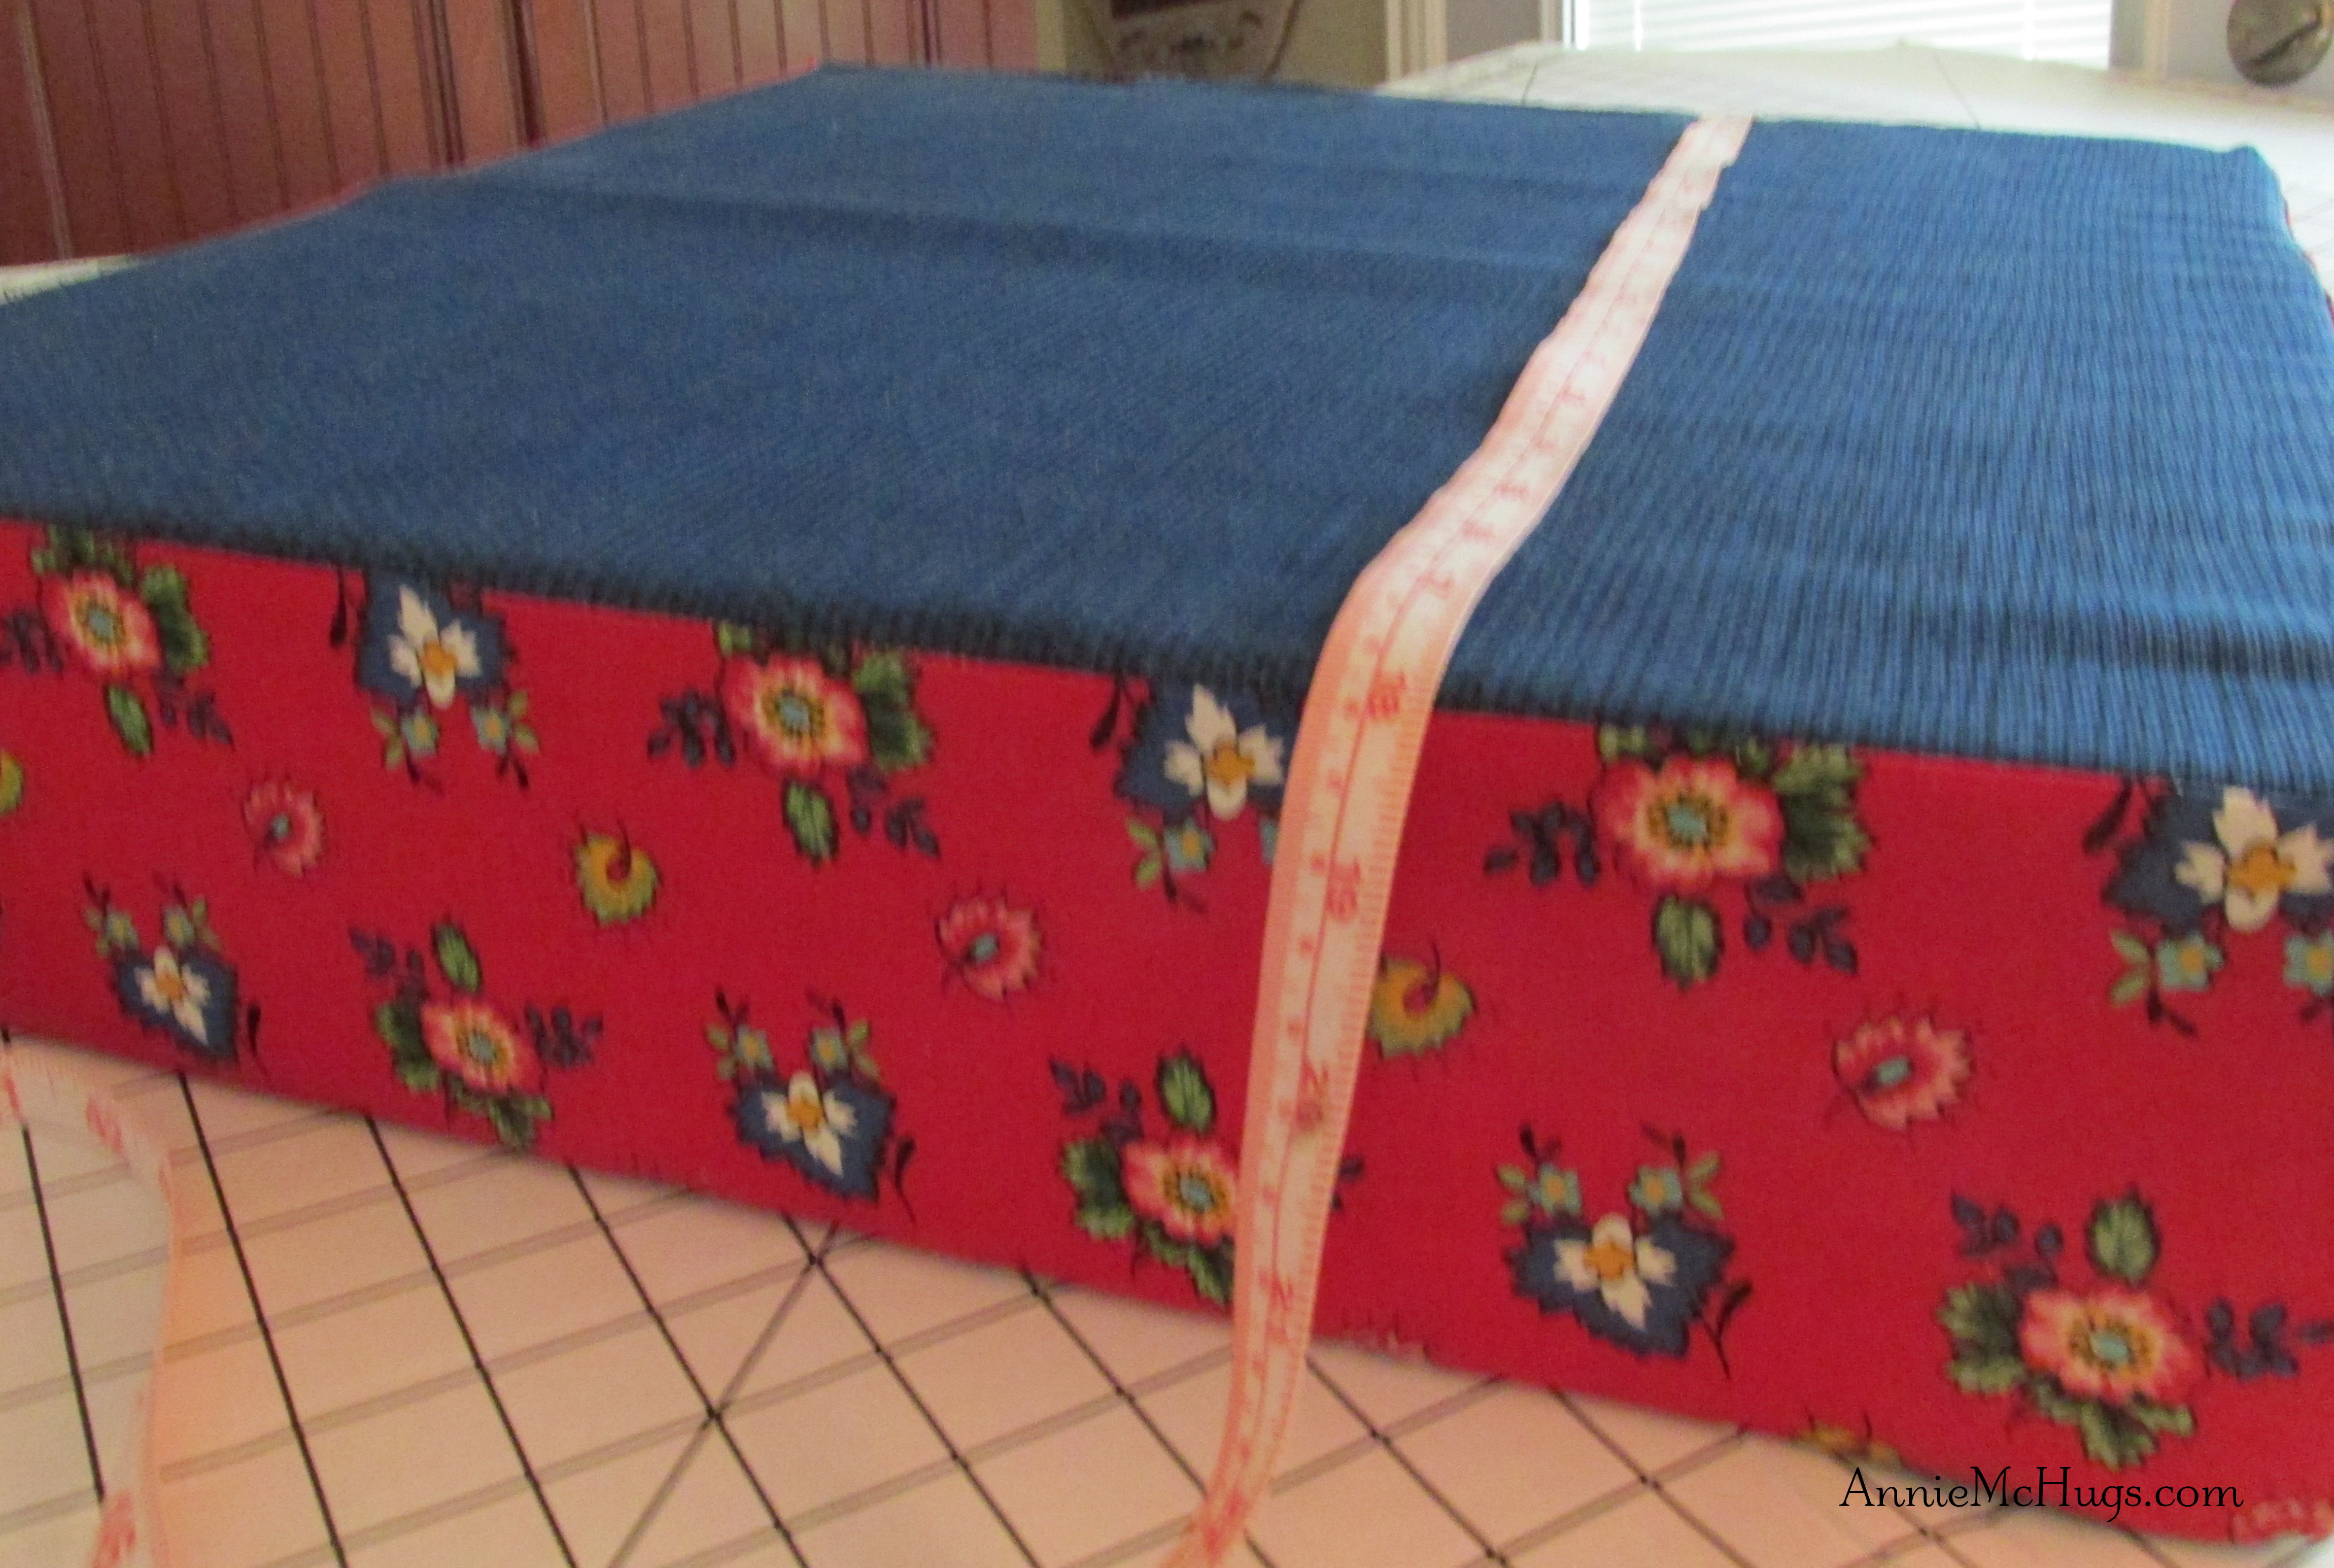
Before
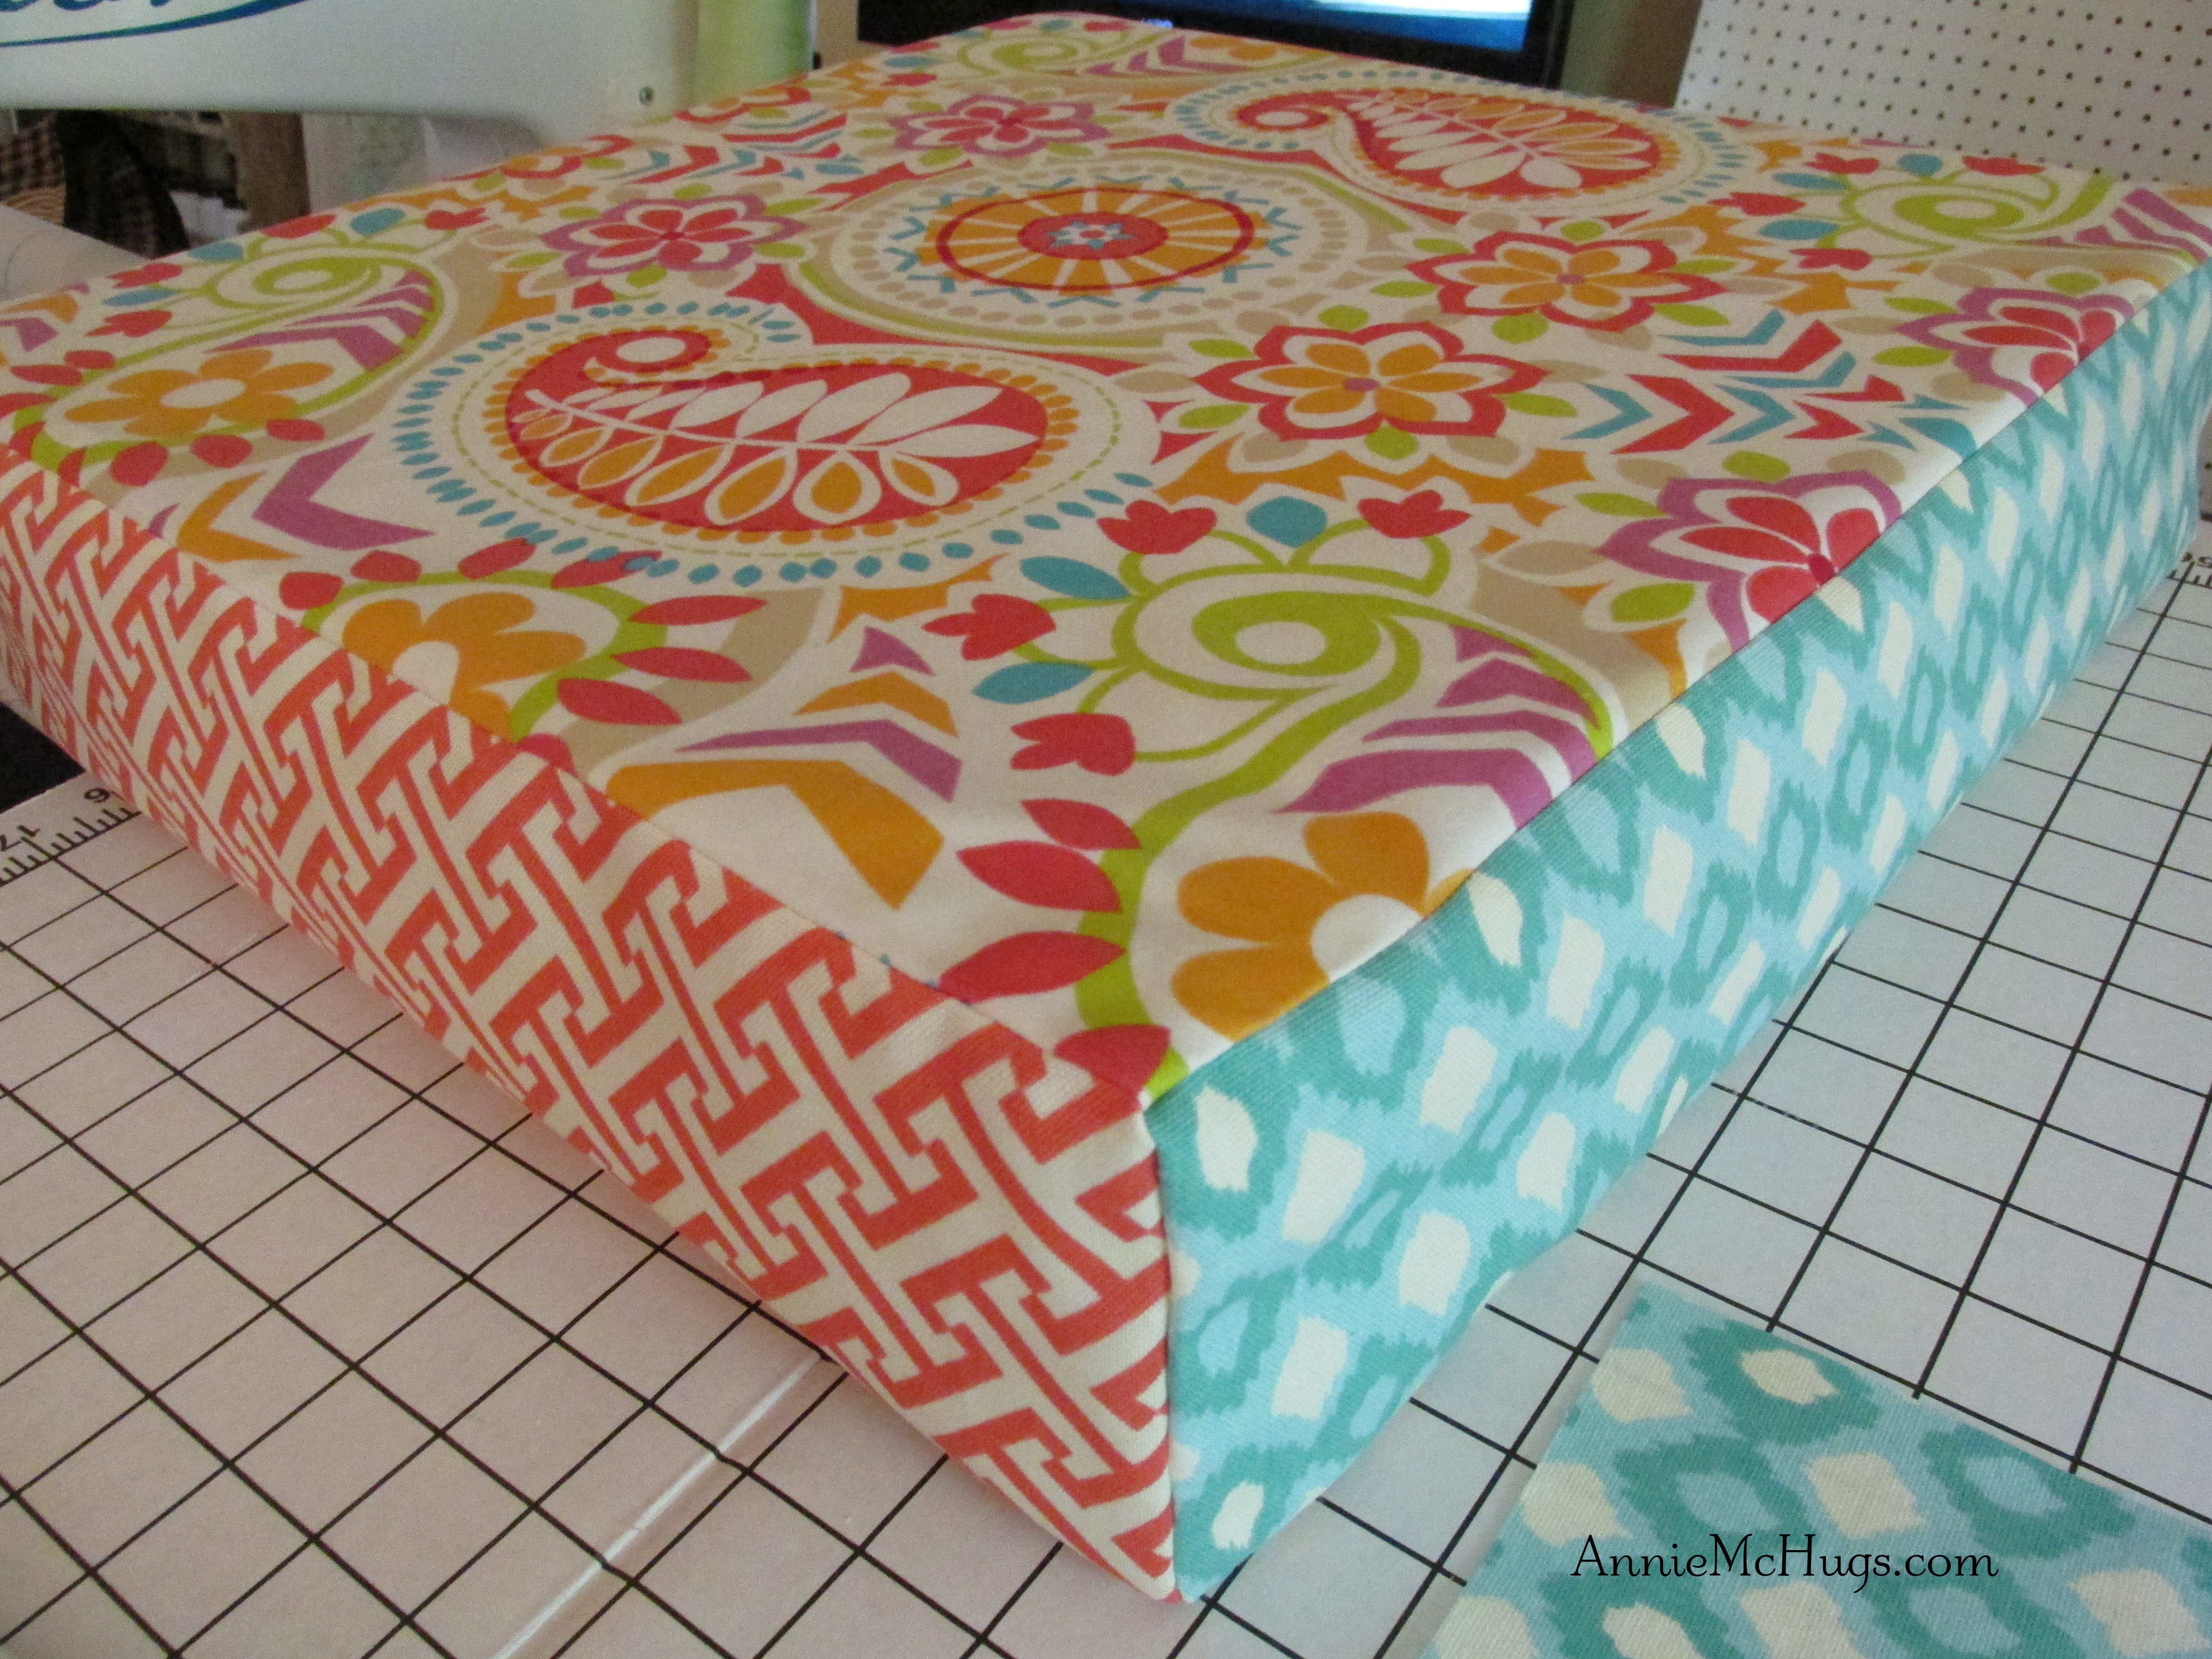
After
Here’s how I did it:
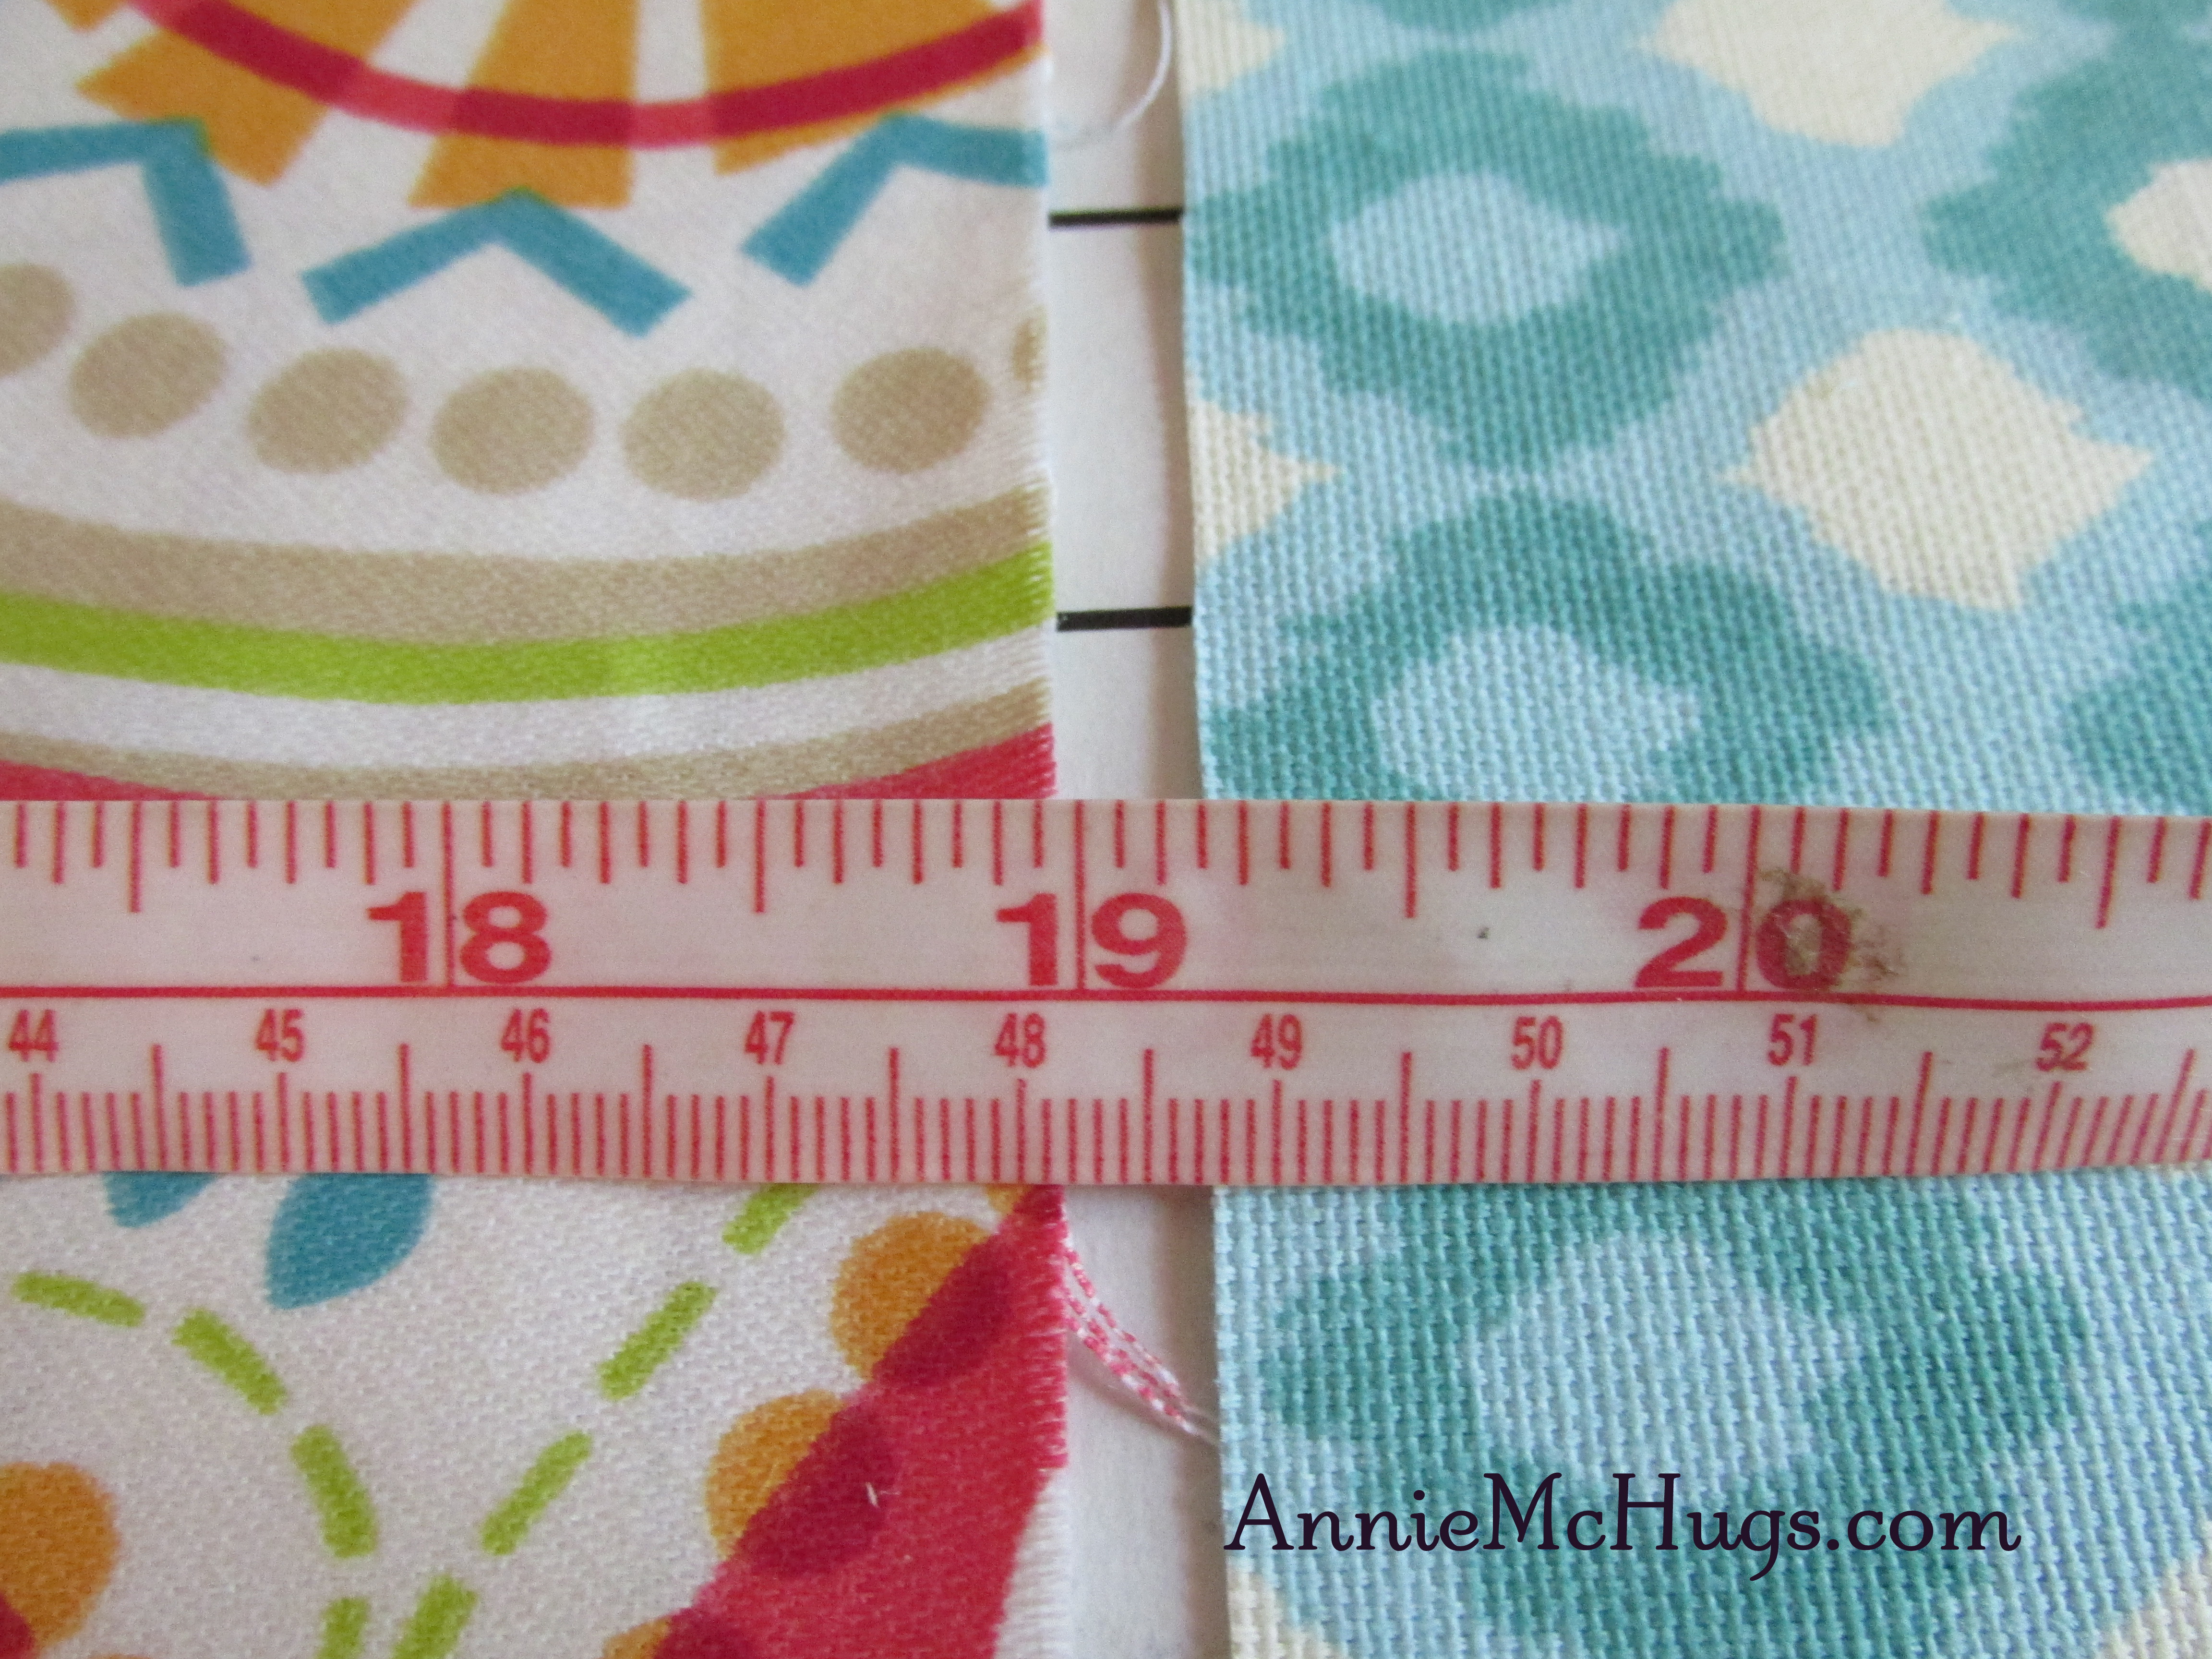
1. Measure side to side, back to front and how deep/tall the cushion is. Mine were 18 inches square and the cushion was 4 inches deep.
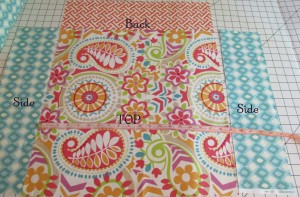
I added one inch to the measurements for seam allowance. 19 inches by 19 inches = top and bottom. 5 inches by 19 inches for the front, back, and both sides. I chose to use 3 different fabrics. Note: I chose the fabric I loved for the tops. Then chose fabrics for the sides that were part of the top. All the while knowing that all have white background. Top and bottom are floral. Front and back match and are geometric. The sides match and are also geometric.

3. Once fabrics are cut to size. Stitch the sides to the top with right sides together. Then stitch the back and the front. Then to the top. I used a 1/2 in seam.
4. Iron the seams down.
5. Now, stitch the side seams together to make the corners.
6. Stitch the bottom on leaving one side open to make a pillowcase.
7. Hand stitch it closed.
Ta Da….have a seat!

